windows下通过nginx配置项目
说明:
本文档演示windows下通过nginx配置纯vue项目,在浏览器上访问页面。
准备:
- 后端:go语言打包
main.exe服务,通过配置项连接mysql数据库 - 前端:
vue项目
操作步骤:
- 通过
npm run build打包生成dist前端静态文件 (本文档不展示) - 在
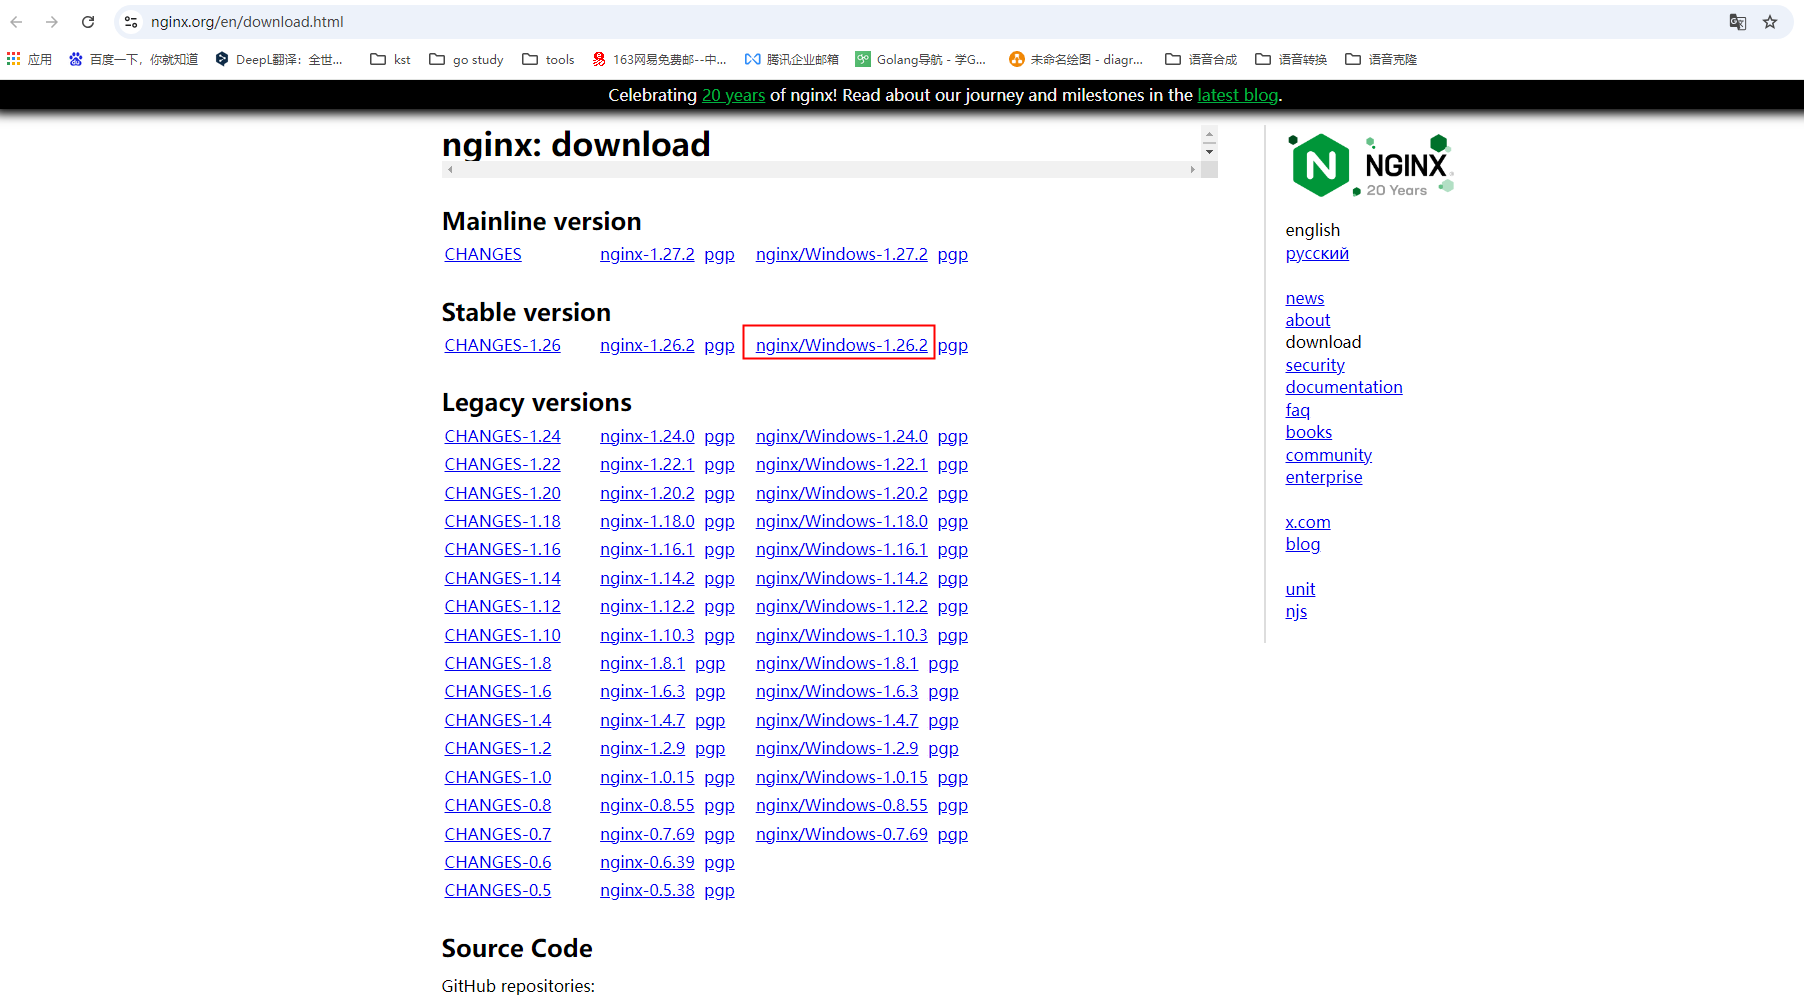
windows下载nginx
1 | https://nginx.org/en/download.html |

-
下载后解压(路径可以根据你自己来定,我这边解压到
D:\java目录下,并重命名为nginx)
-
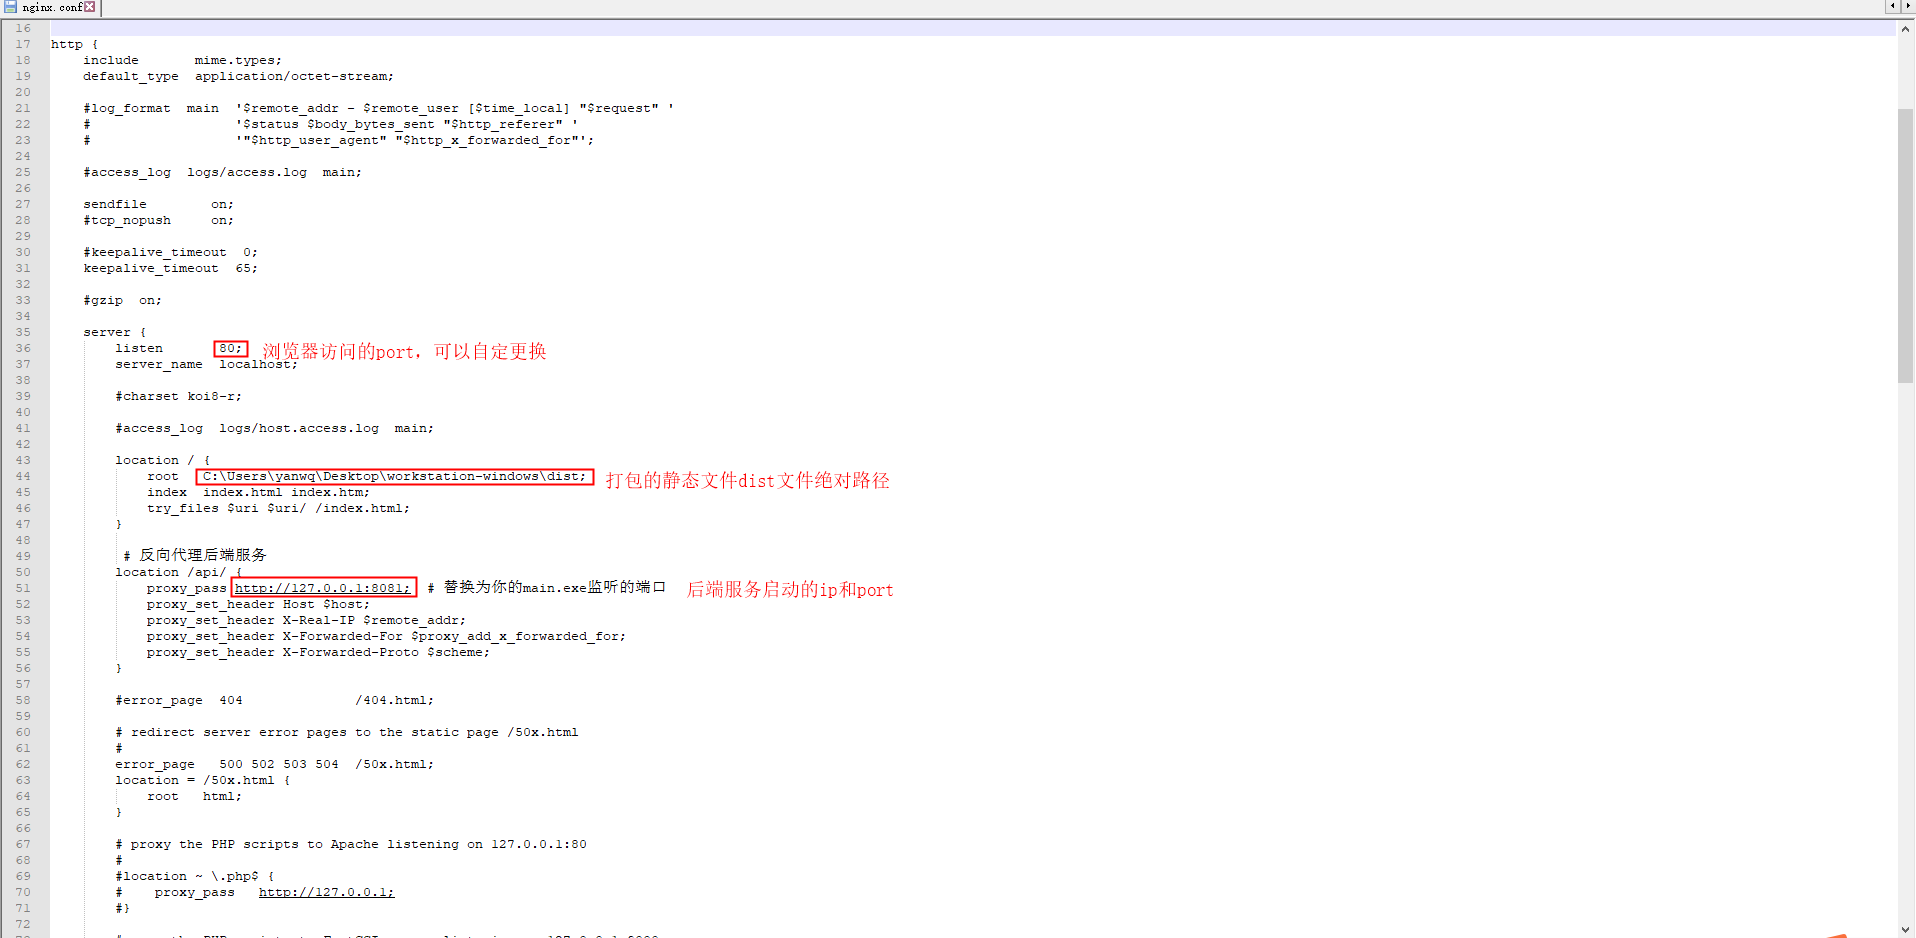
配置
nginx打开 Nginx 的配置文件
nginx.conf,通常位于\nginx\conf\nginx.conf。在
http块中添加以下配置:1
2
3
4
5
6
7
8
9
10
11
12
13
14
15
16
17
18
19
20
21
22http {
server {
listen 80; # 监听80端口
server_name localhost; # 服务器名称
# 前端静态文件目录
location / {
root C:/path/to/your/dist; # 替换为你的dist文件夹路径
index index.html index.htm;
try_files $uri $uri/ /index.html; # 处理单页应用的刷新问题
}
# 反向代理后端服务
location /api/ {
proxy_pass http://127.0.0.1:8080; # 替换为你的main.exe监听的端口
proxy_set_header Host $host;
proxy_set_header X-Real-IP $remote_addr;
proxy_set_header X-Forwarded-For $proxy_add_x_forwarded_for;
proxy_set_header X-Forwarded-Proto $scheme;
}
}
}解释:
location /:处理前端静态文件的请求。root指定了静态文件的目录,try_files用于处理单页应用的刷新问题。location /api/:处理后端 API 请求。proxy_pass指定了后端服务的地址,通常是main.exe监听的地址和端口。
根据实际的内容进行修改

-
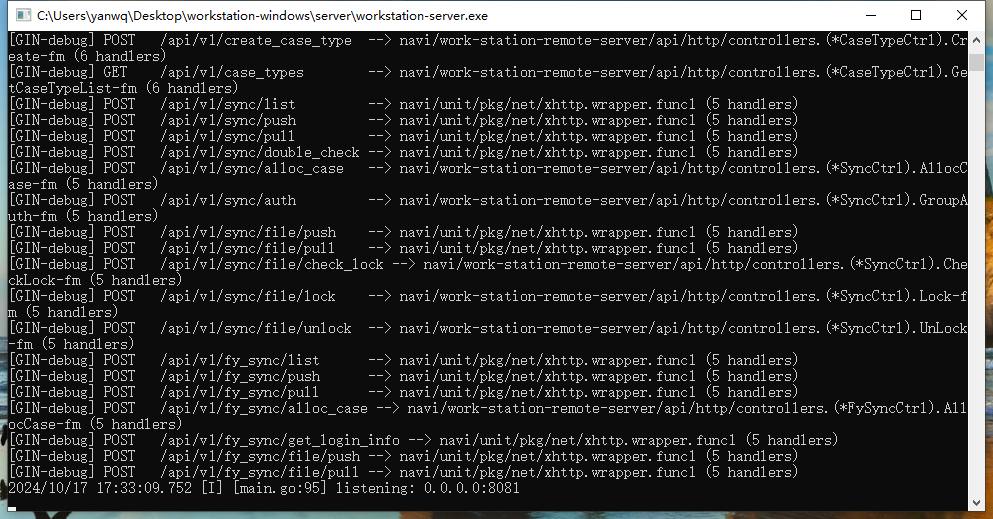
启动后端服务
main.exe
-
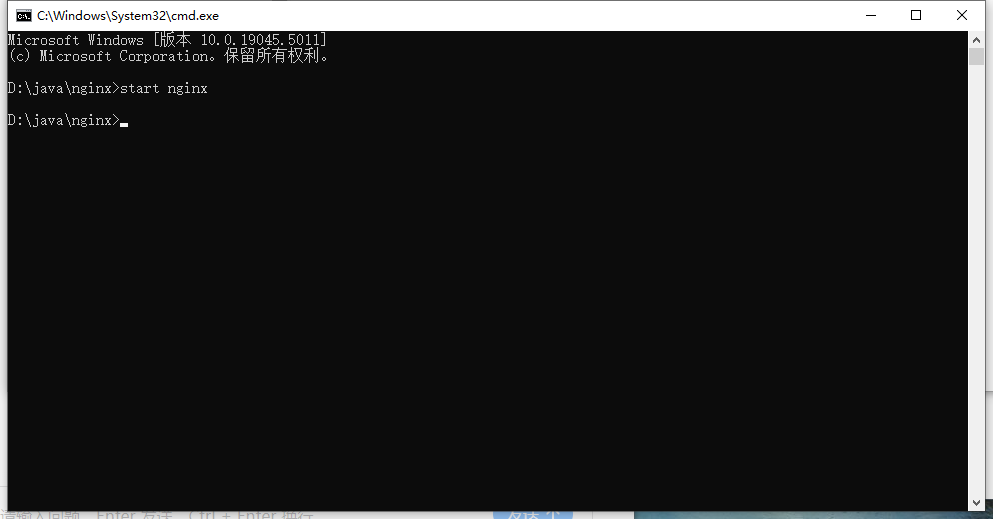
进到
nginx目录下启动1
start nginx

-
访问管理页面
在浏览器上输入
127.0.0.1:80(nginx配置里面定义的80端口)
-
验证配置
- 确保
main.exe正常运行,并且没有报错。 - 检查 Nginx 的日志文件(通常在
\nginx\logs目录下),查看是否有任何错误信息。
- 确保
-
关闭
nginx在
nginx目录下执行nginx -s stop,再次访问页面无法打开。
